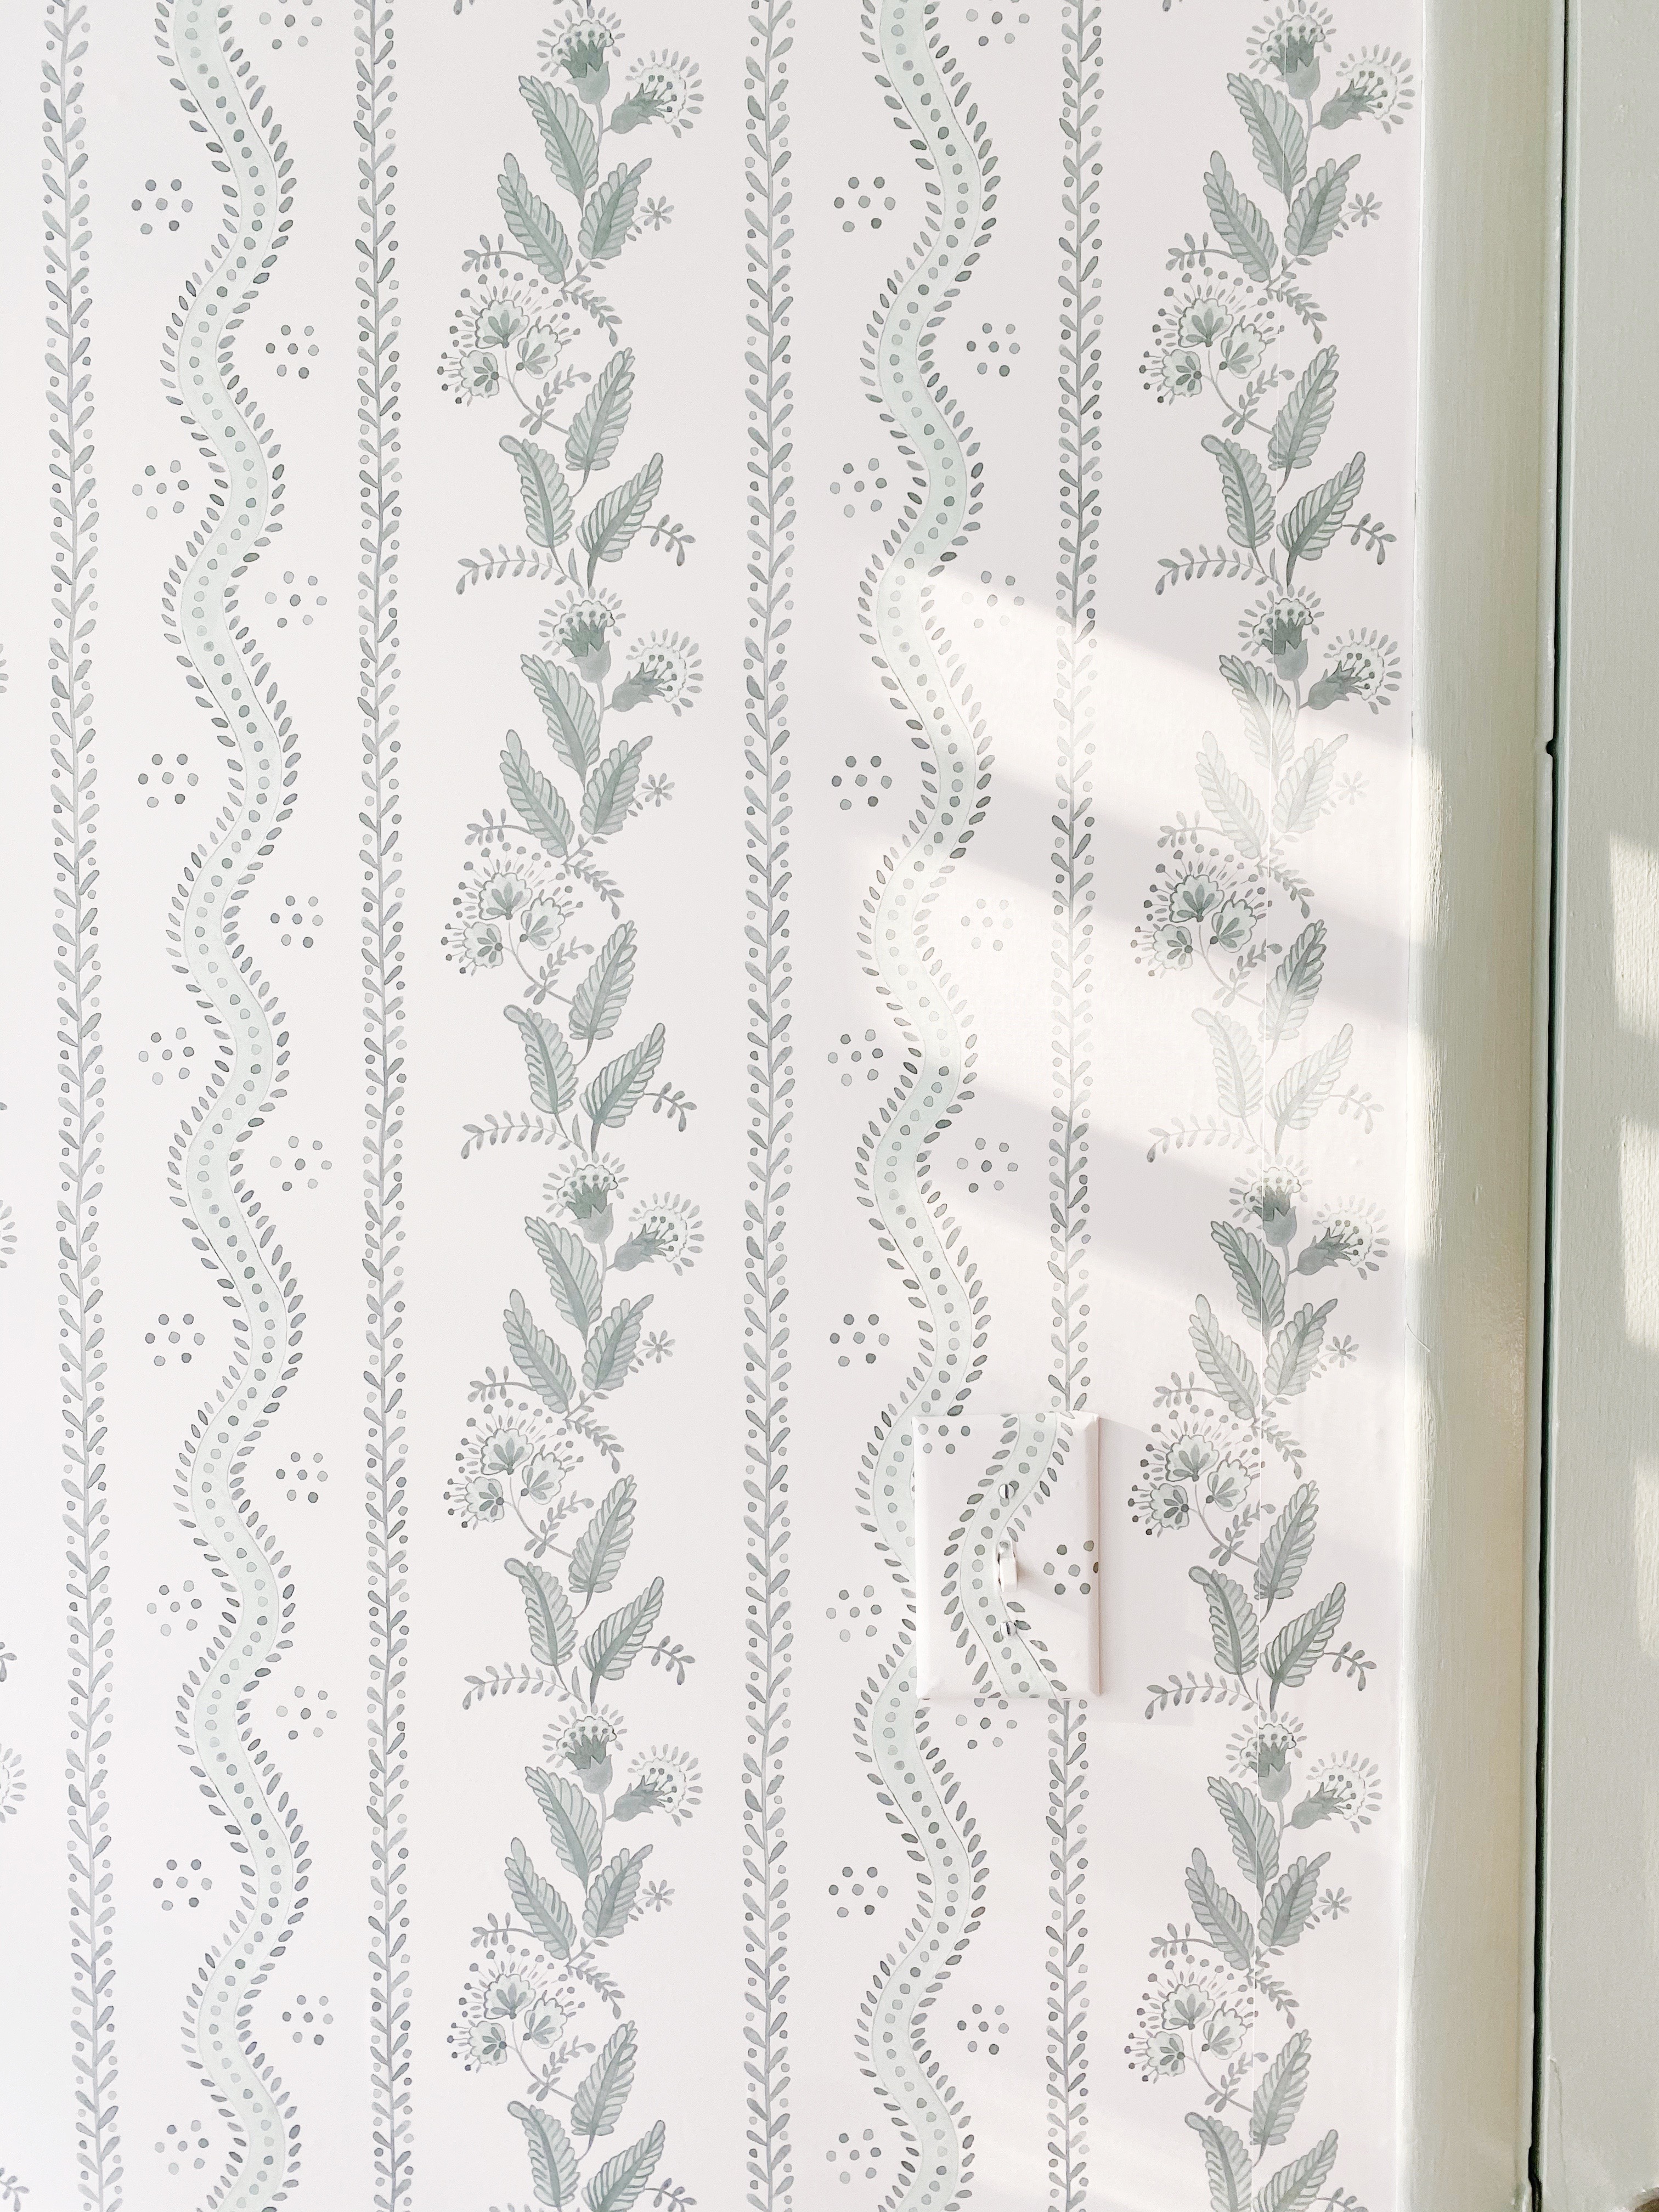
*If you look hard enough you can spot my “oops” but I don’t think you’ll notice it when the crown molding goes up! Oh well!
Today was a really good day! Finally hung the wallpaper I ordered when we moved into the house 6 months ago. I shared a bit of the progress on Instagram earlier today and received a whole bunch of questions so I’m going to try and answer all of those ?’s here! I hope you leave this post feeling inspired and encouraged to tackle a house project of your own! It’s the best way to start the year!
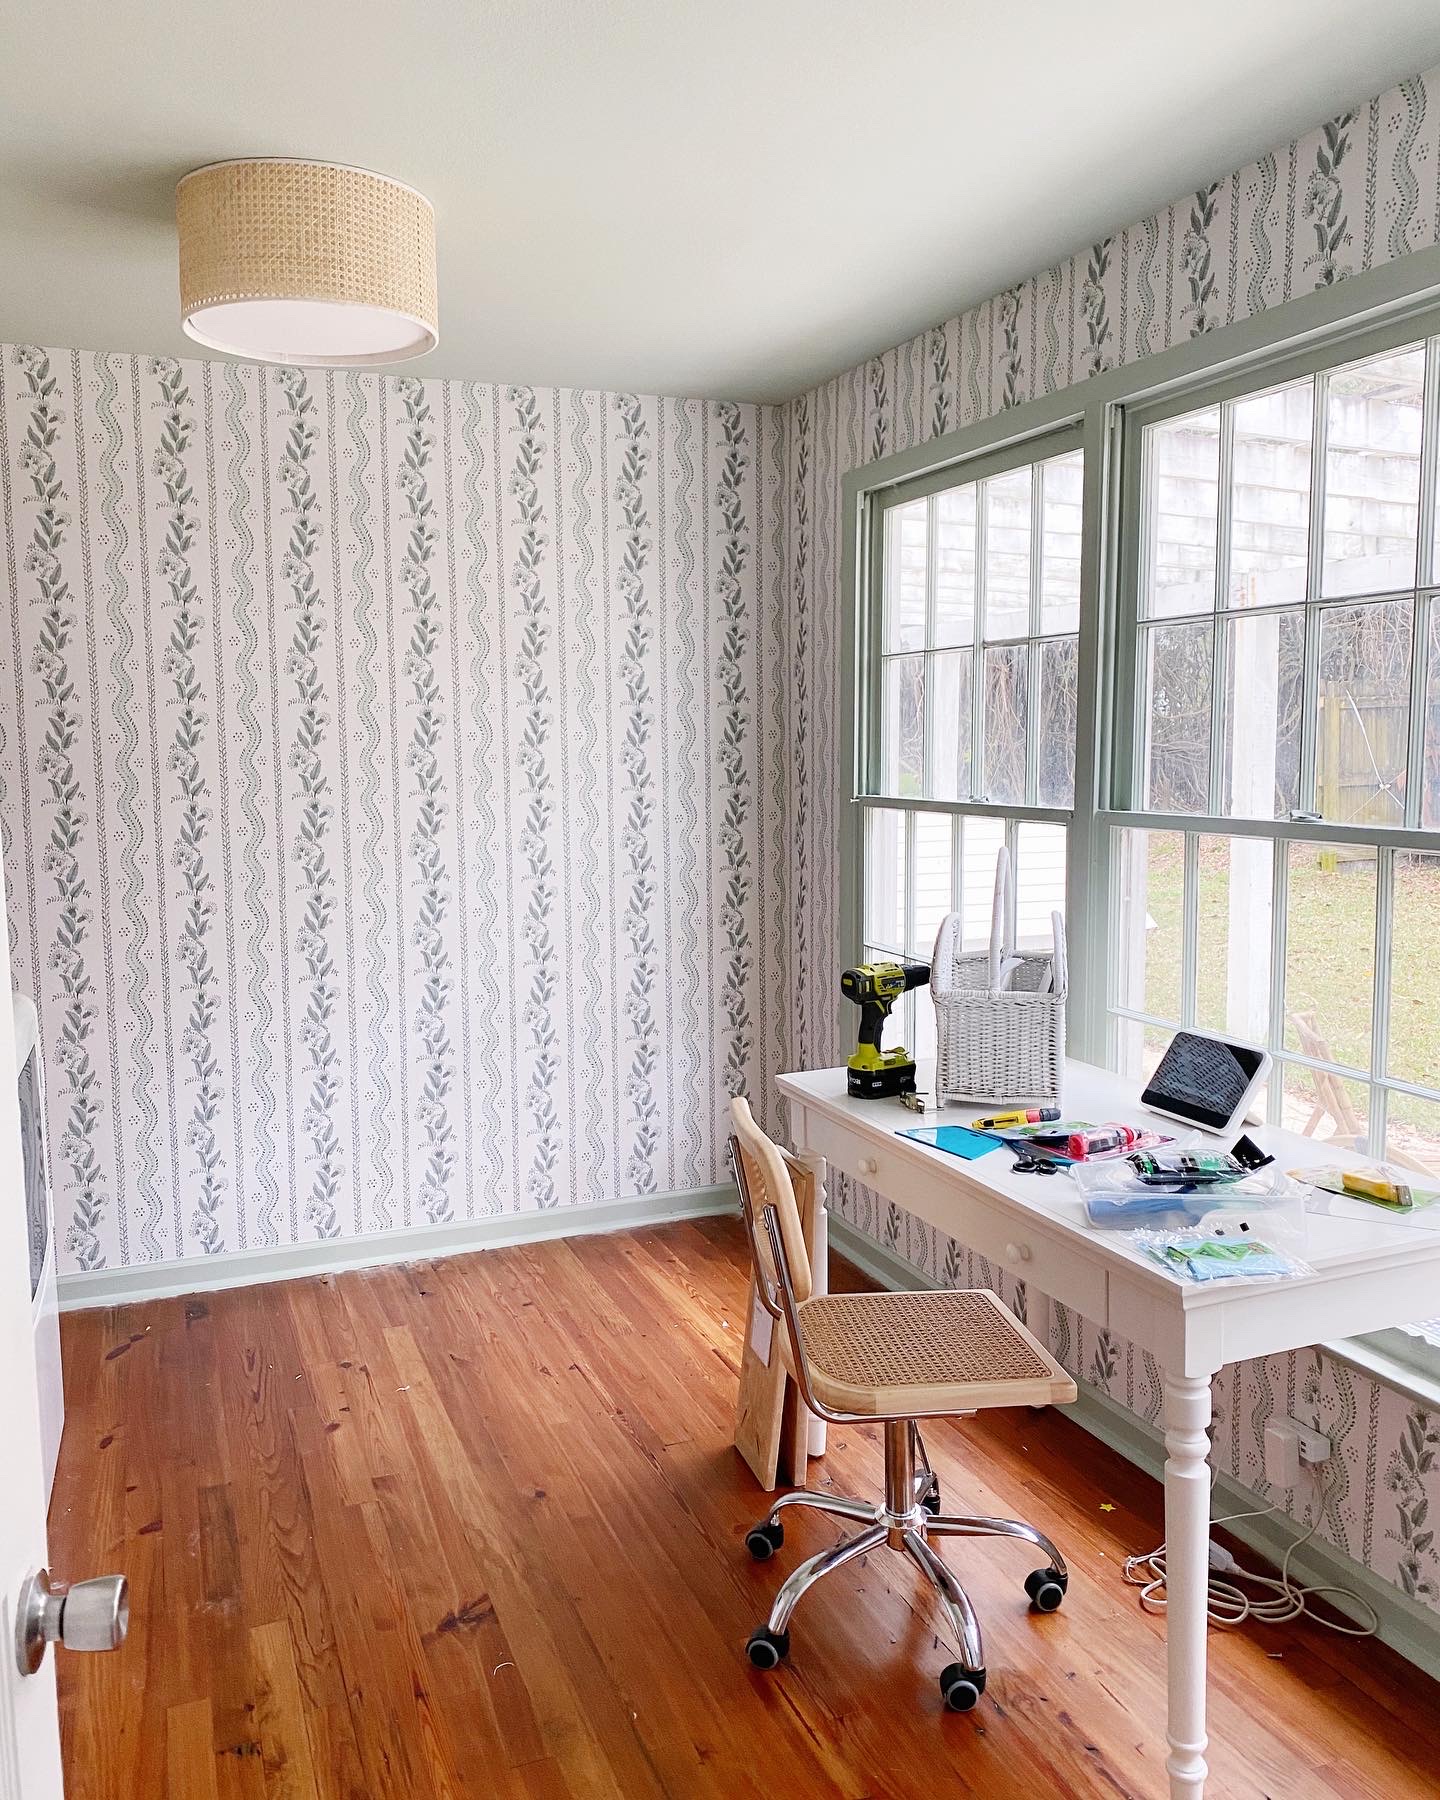
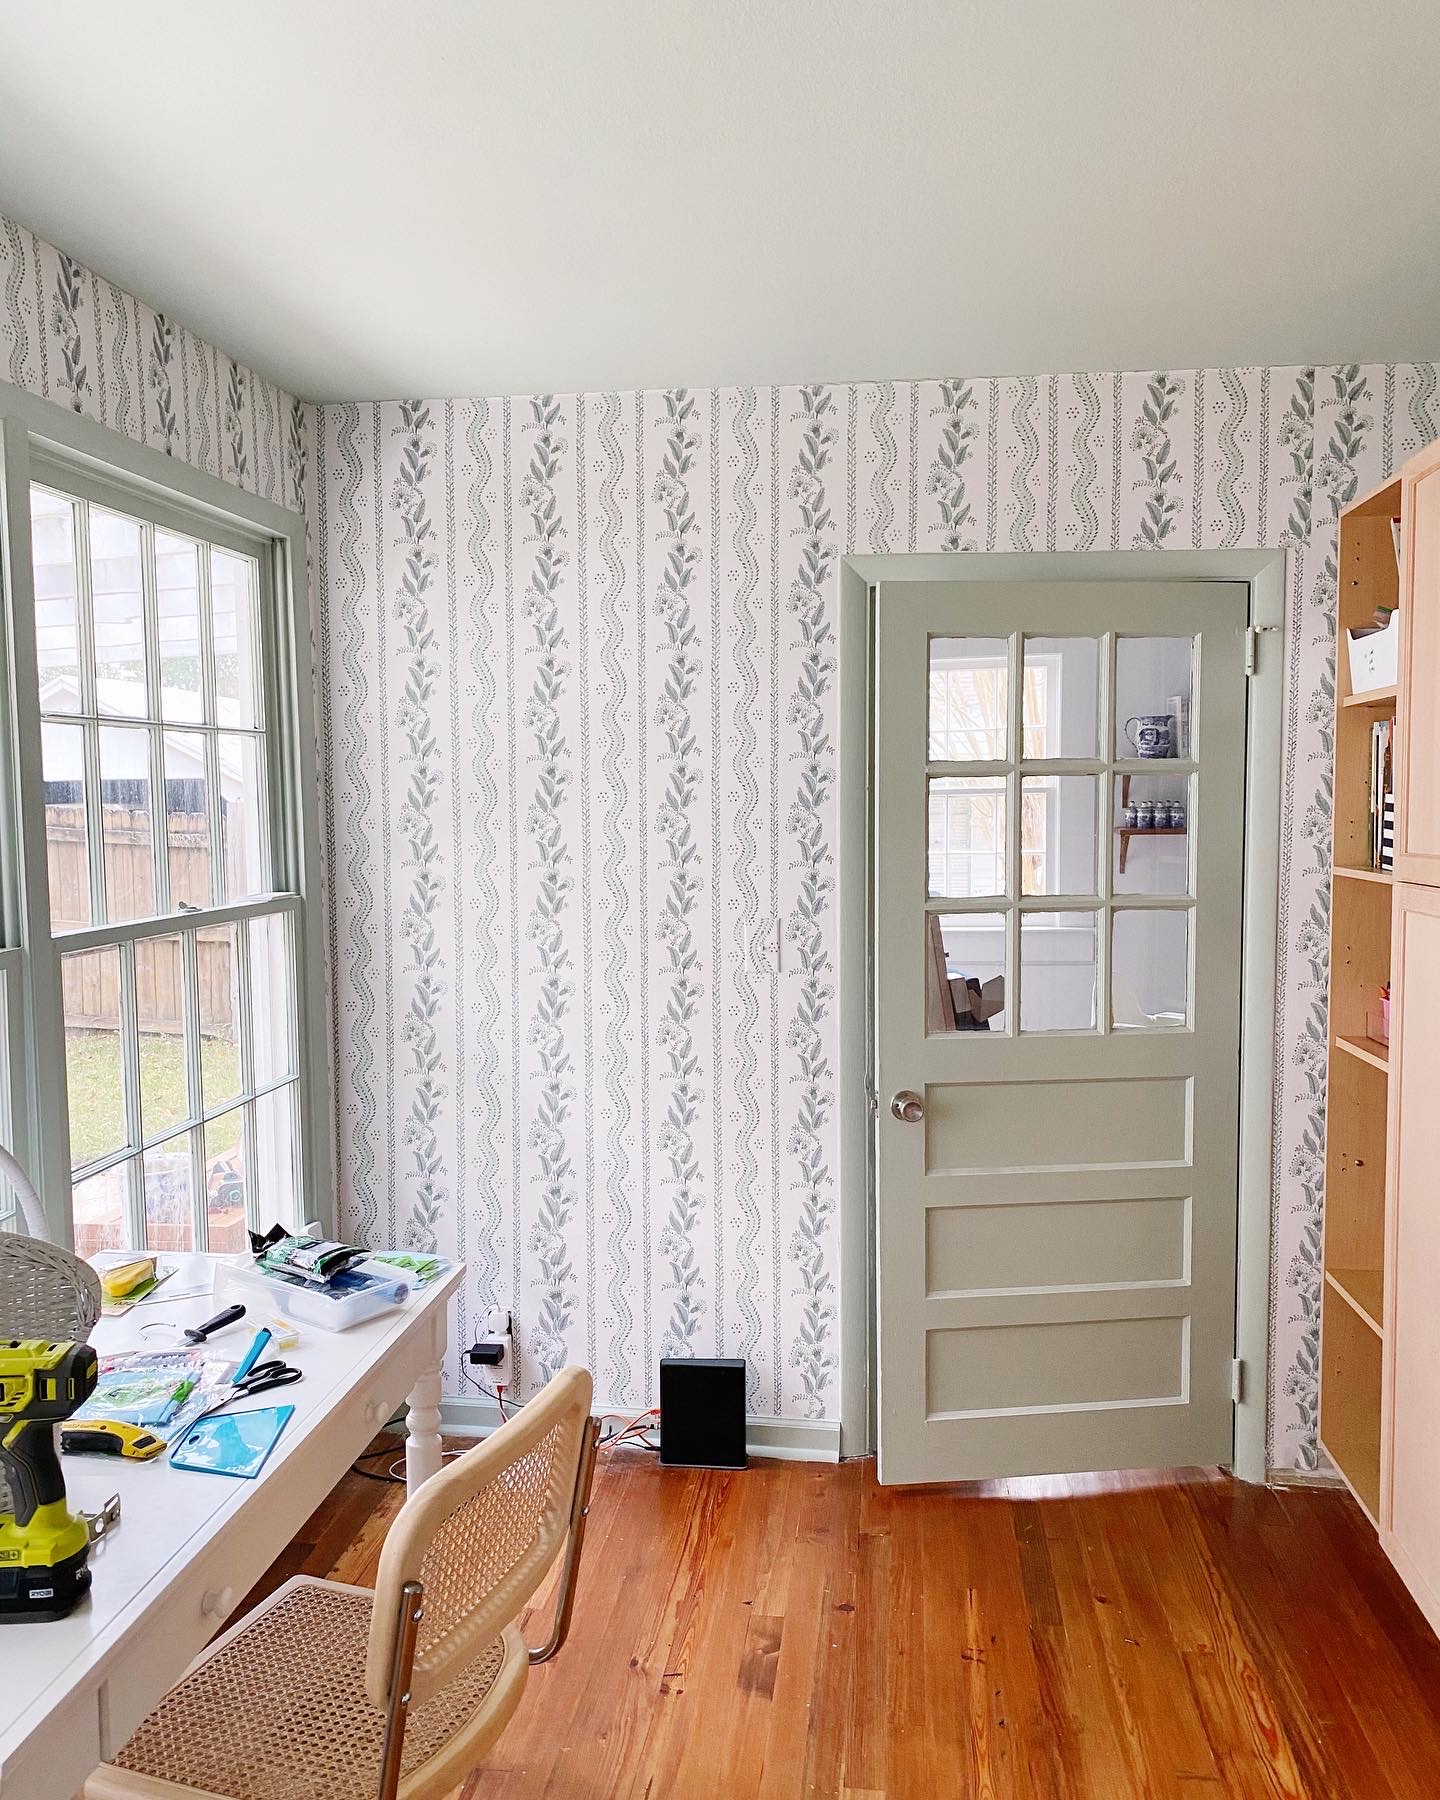
When we looked at this house the lack of official “office space” was almost a deal-breaker. But the sunroom was converted into a laundry at some point and it’s pretty big. So I made 🍋 into lemonade and decided this could be my “mom room” where I could work during naptime but also swivel around and switch loads of laundry. The big windows mean I can look out at the girls playing in the backyard while I send emails. Pretty dreamy IMO! And I get lots and lots of pretty natural light! Y’all wanted to see more “progress” so here you go!
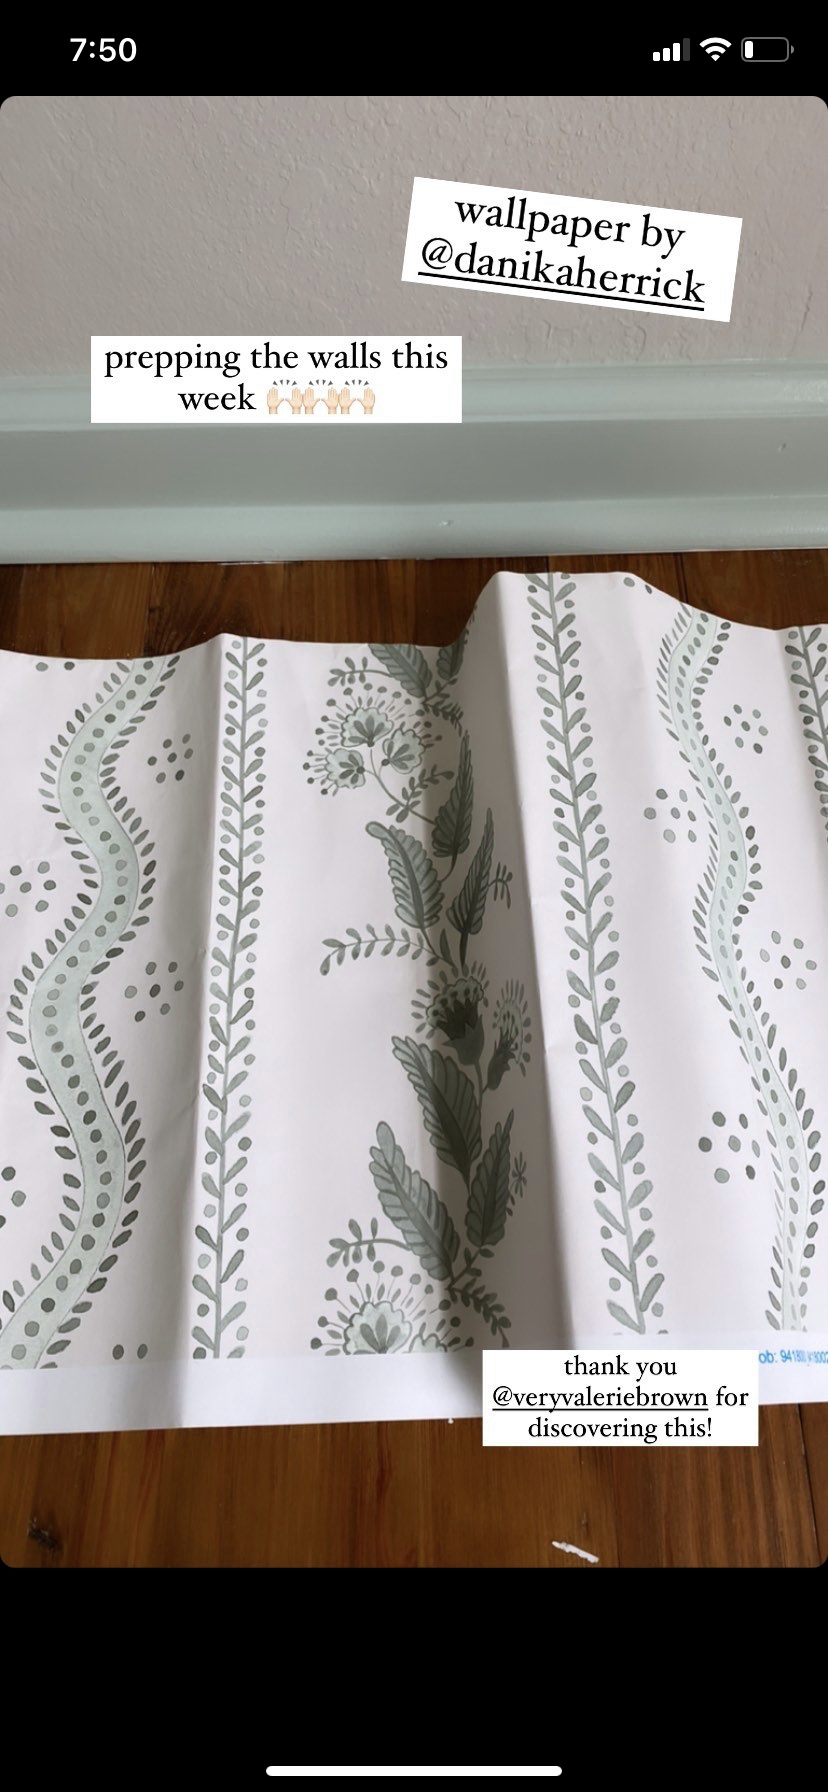
Pearce installed our cabinets over the break which meant it was time to paper! The wallpaper I chose for this room is another fun print by Danika Herrick. I also used her patterns on my dining room drapes, dining room chairs, and in the girl’s bath (more on that soon!) Danika is such a talented textile designer and I love that I can easily purchase her fabrics and wallpapers on Spoonflower. Spoonflower offers a ton of wallpaper options in thousands and thousands of prints. It’s a little overwhelming but once you find a designer you love, it’s a gold mine. You can order fabric + wallpaper + home essentials like drapes and duvet covers, all in one place. The pricing is pretty phenomenal for the quality! You can purchase traditional unpasted/prepasted wallpaper OR opt for the peel & stick textured paper. I know it might sound a bit tacky but this is my third time using the textured peel and stick and it FEELS better than even the designer wallpapers I’ve seen installed in clients’ homes. The quality is *chefs kiss* and it’s so dang easy to use. Yes, easy!
How to: Measure your room, order paper, decide which rolls need to go on which walls, line up your seems, and STICK! As you’re sticking the paper you’ll need to smooth out any bubbles/wrinkles using a tool like this one. This paper is great because it’s forgiving. You can unstick and restick quite a few times so you never have to worry about making a mistake you can’t undo. Once your paper is exactly where you want it you’ll trim the edges using a super sharp Exacto knife/blade tool. Windows/outlets/obstacles were intimidating at first but once you’ve done a few they’re not so scary.
The hardest part is definitely cutting (make sure you have a sharp Exacto knife/blade!) and lining up the seams. Thankfully with the peel and stick option, you overlap your papers which makes lining up the seams a bit easier IMO. Our house is very old and very crooked so I don’t use a level with anything anymore, I just do what looks right! So I wasn’t overly concerned about making sure my seams were perfect because mathematically there’s no way they could be!
It took me about 5 hours to install my entire room of paper. I used 15 (ish) rolls which is a lot of paper, so it’s impressive that it only took a day! Once you get the first few rolls up its smooth sailing I tell ya!
The traditional/unpasted wallpaper is less expensive but after my last attempt at that (while 9 months pregnant) we had to hire the rest of the project out. Such a mess!!!! So challenging. I thought about hiring the wallpaper projects out here and going with the less expensive paper but I couldn’t find an installer and I was ready to have it up! Glad I did it myself because it’s so satisfying! Truly therapeutic.
Other Questions:
Exact link to wallpaper you used? So many color options! Here’s the link to the paper!
Light hanging in the room? This one! I bought it from Lola Interiors – they didn’t end up using it at a project they ordered it for and I lucked out because it looks so cute with my cane homegoods desk chair!
Did we prep the walls first? We had the walls professionally sanded and prepped before we moved in. We knew we were wallpapering the space and this made for an easy install!
What’s the trim color in the room? BM Antique Jade – which is my new signature color because I’m also using it on my patio furniture and in the girl’s room!
Where’s your desk from? It’s this one! Exactly what I needed in terms of function + size and a simple classic look!
Still on my “mom room” to-do list:
Trim out and paint cabinets (antique jade to match the trim), install skirt & marble countertop once the new w/d are here, hang shelves, hang pinboards, figure out window treatments???? I was thinking about using the rug I used in the girl’s old bedroom in here but I may do without a rug! Love my floors so much!
Once we wrap up those projects I’ll share a little before and after! This room has come a long way. Thanks for sharing in the fun!
