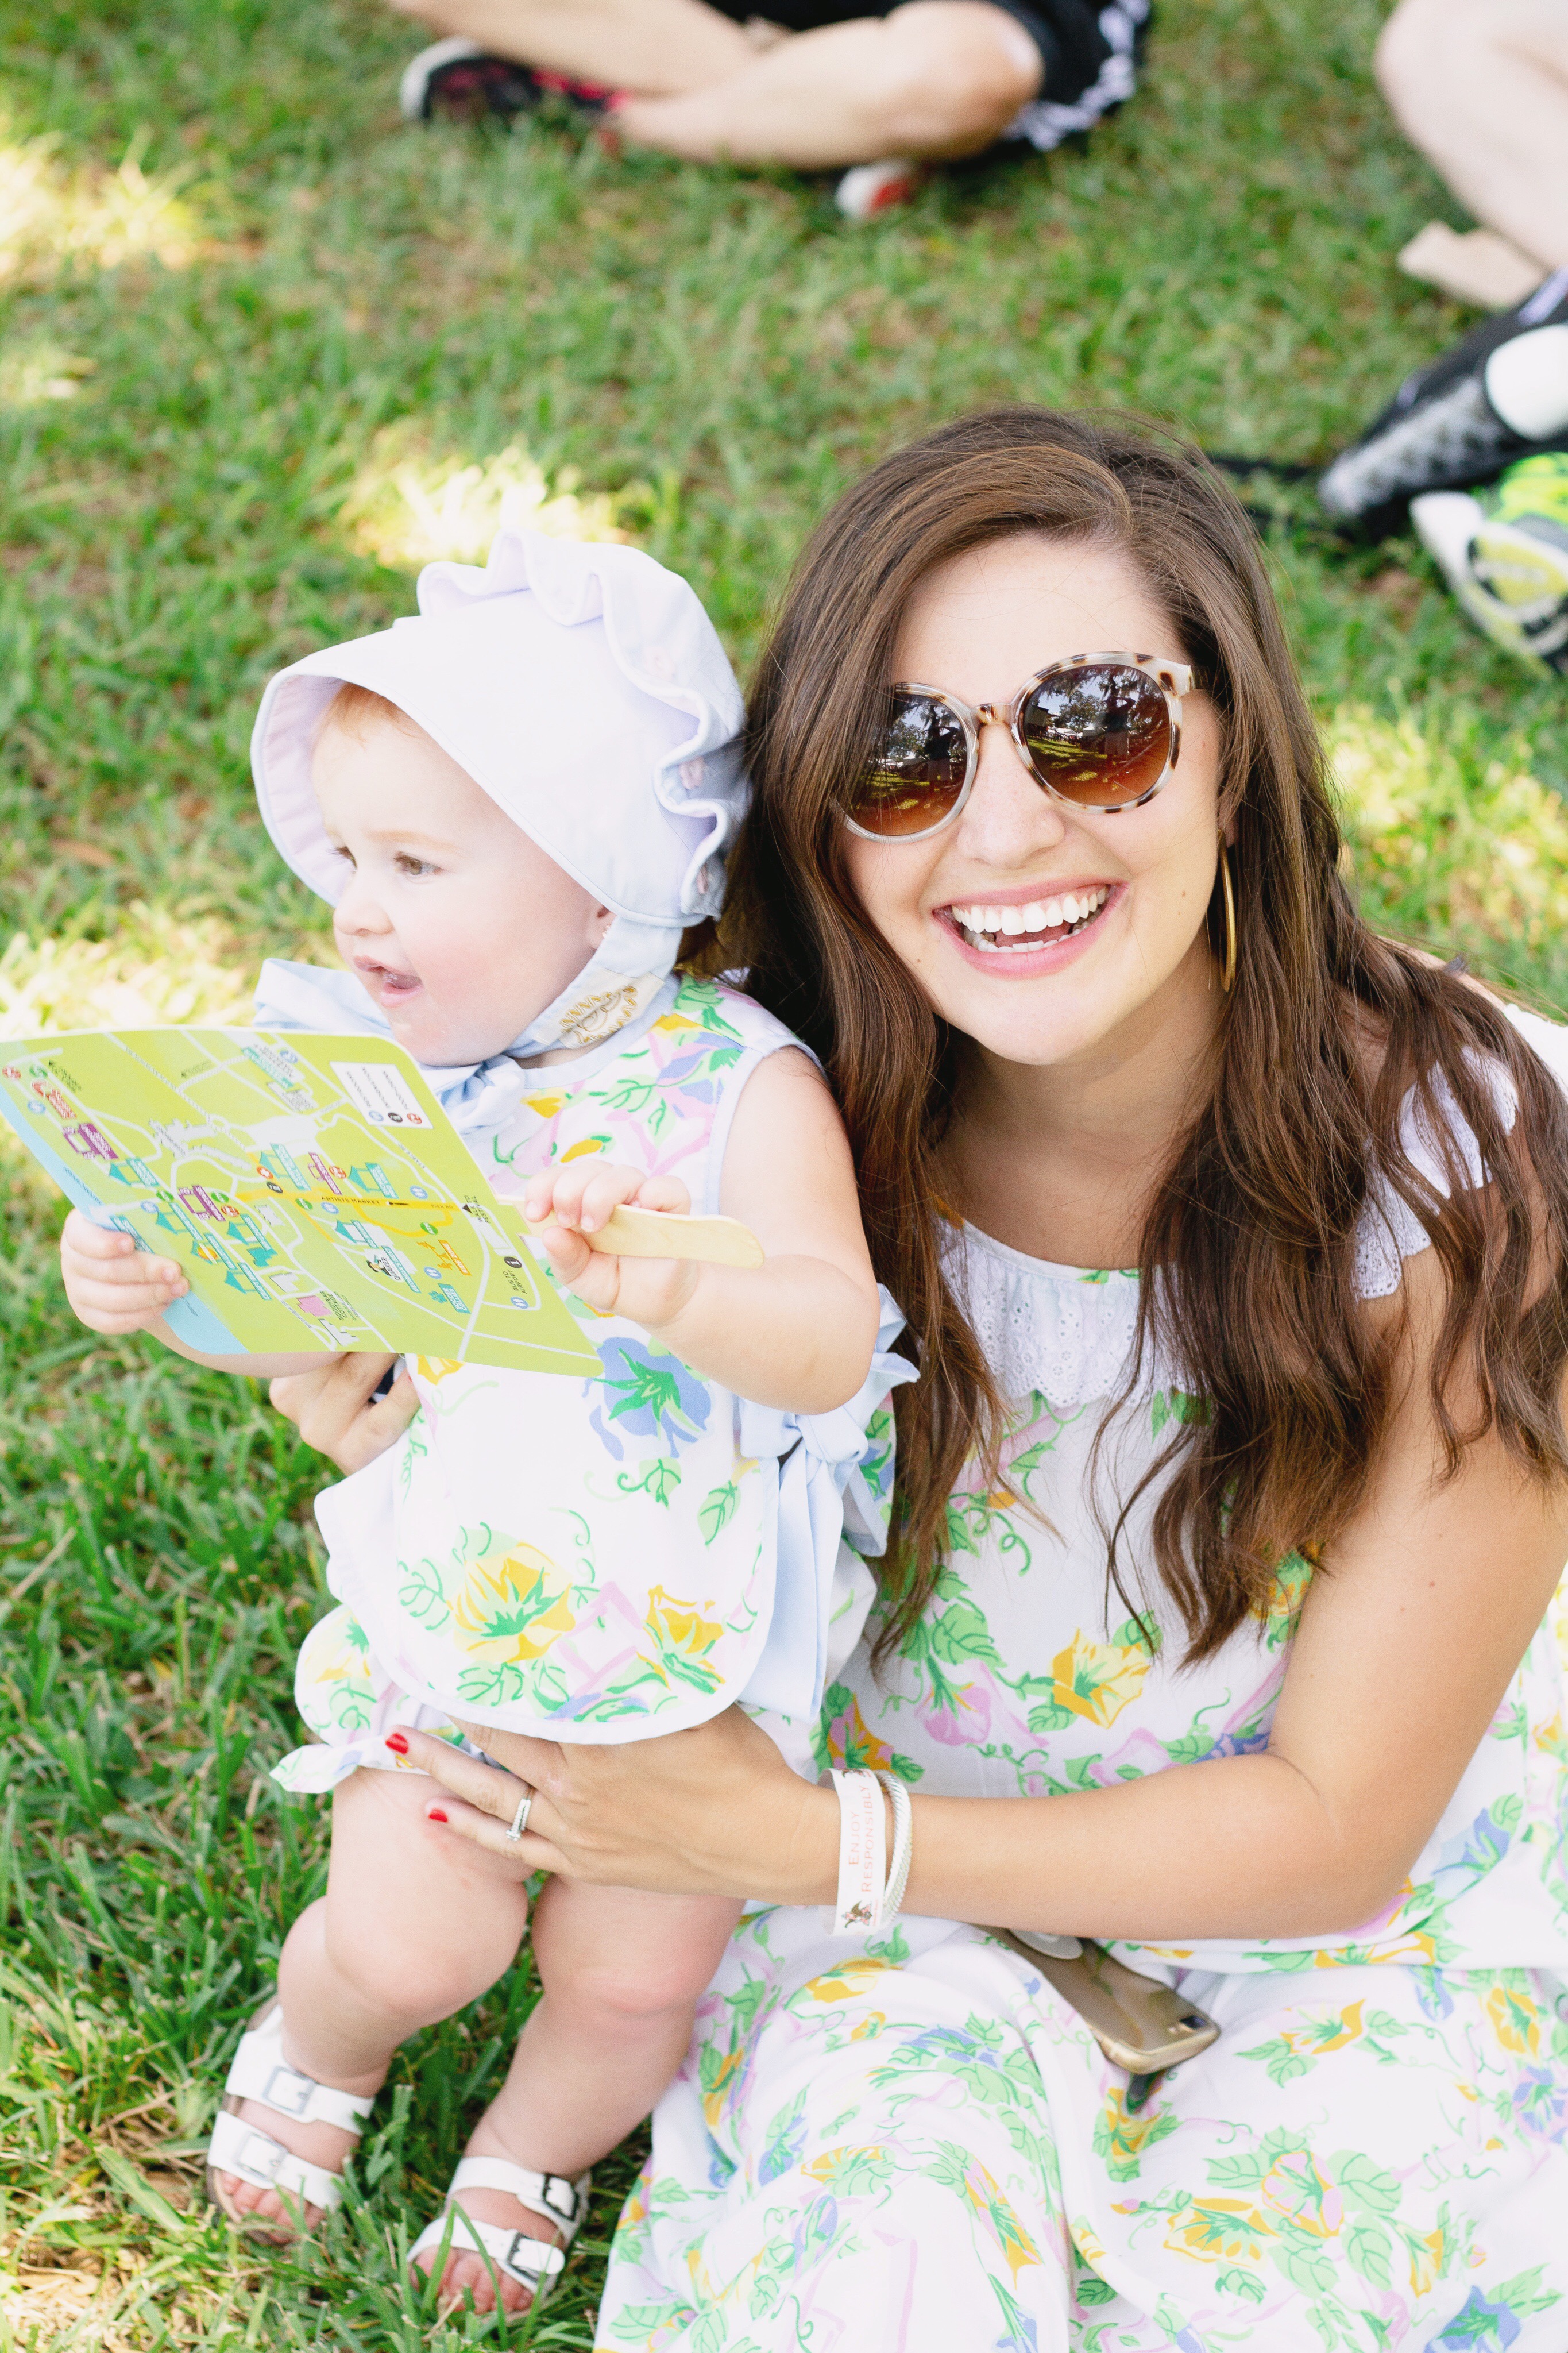
Howdy y’all! I started getting requests to write this post YEARS ago and feel pretty awful about how long it’s taken me to get around to! I’m not a fabulous photographer but I do enjoy shooting and editing photos! It’s one of the reasons I started this here blog and it’s been fun to improve my skills over the last few years. As a mama being able to snap quality photos of my girl has saved us so much $$$ and it’s super convenient.
I have a basic lightroom edit that I perform on every photo. I rarely deviate from my process! I do however like to edit the photos I share on Instgram with an additional app. I drop photos into dropbox (I have it on my phone and laptop) once I’ve edited them. Once they’re in dropbox, I’ll “favorite” a few to share on Instagram. I use an app called A Color Story for a final touchup in an attempt to keep my instagram feed looking cohesive. Confession: I wish I cared less about this!!!! The desire for a pretty instagram feed sometimes kills my creativity and “in the moment” shares. I hate that! So I’m trying to add a bit more realtime content into the mix.
Ps. My favorite A Color Story filters are may + nob hill! I love the touch of pink! There are so many pretty options though and they’re so much fun to play with!
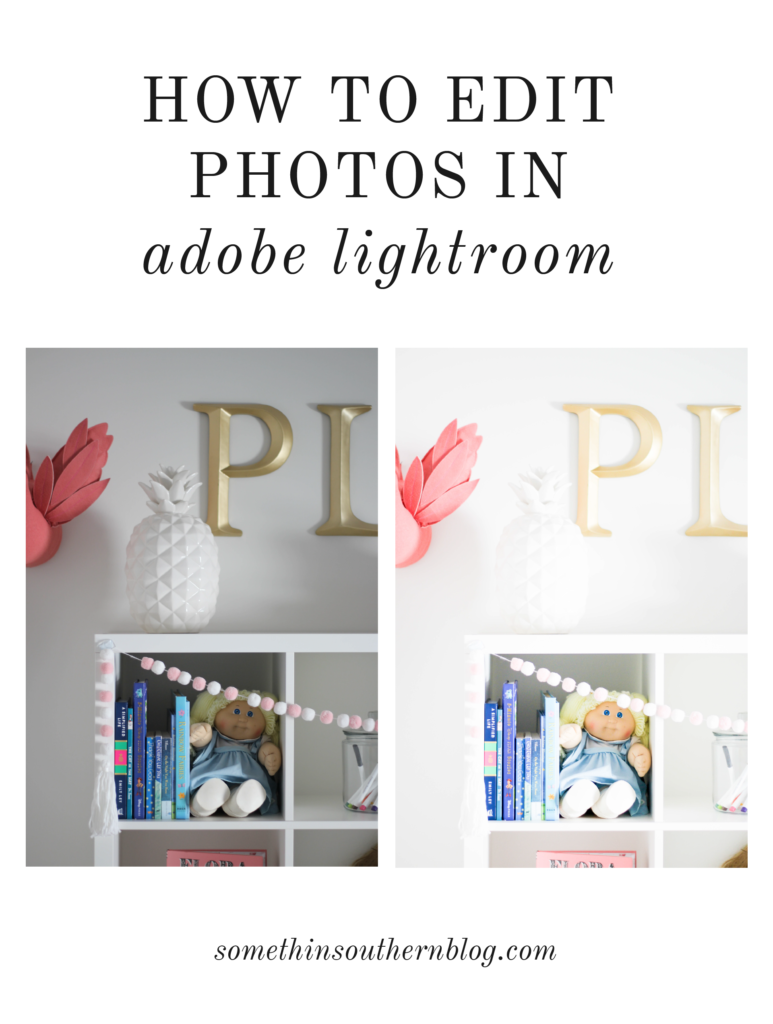
Let’s get started. Below is a step by step tutorial on how I (quickly!) edit photos in lightroom. Y’all let me know if you have any questions!
***This is the SAME process I use for photos with people in them and photos taken outside. I use the same starting points and adjust as needed. For example – for outdoor photos I start with my exposure at 2 and work my way down.
Before Photo:
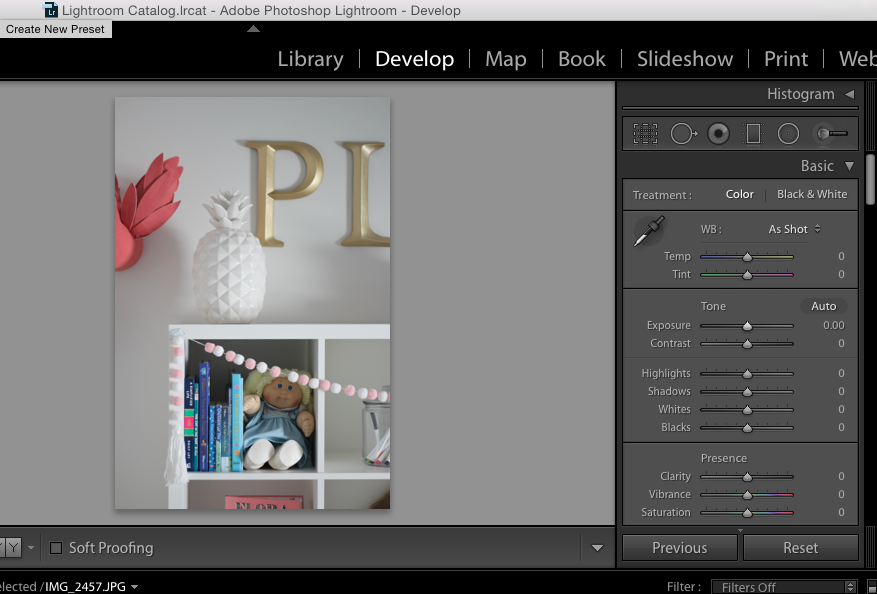
1. Exposure
First things first. I always brighten my photos! I typically land somewhere between 1.5-2.3 on the exposure scale. At first it might look like you’re photo is a little too bright but hang tight and we’ll fix that in the next few steps! For outdoor photos and portraits the exposure is almost always lower than with indoor photos.
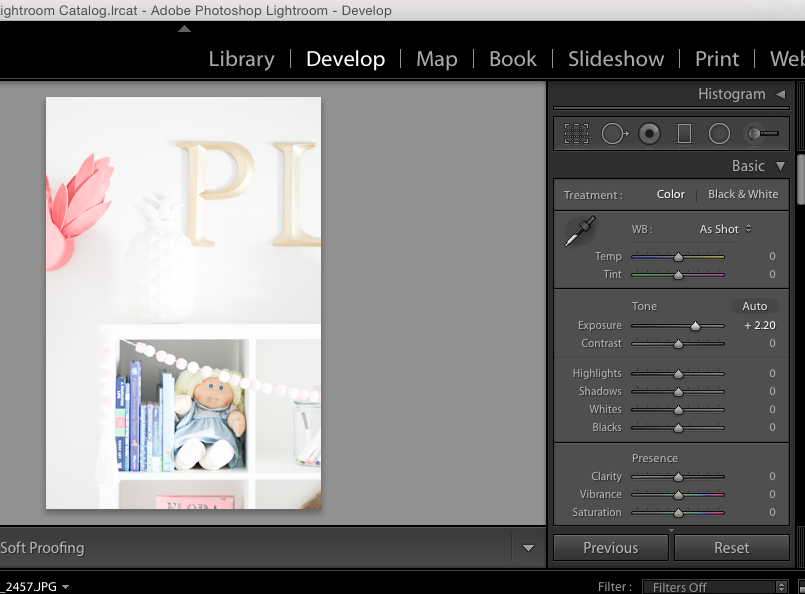
2. Blacks
Once my photo is nice and bright, I bring my blacks WAY down. I usually bring them down to about 50. Never below 60. This contrast makes a huge difference doesn’t it?!
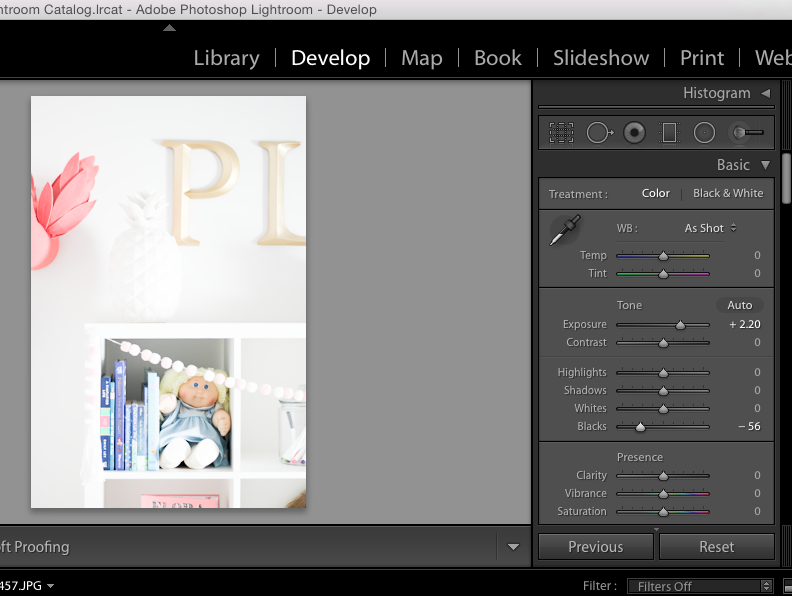
3. Vibrance
I add the tiniest bit of vibrance just to bring my colors out. For this picture I took it up to 47 but I’d say most of the time I stay around 20. Especially if there aren’t any punchy colors in the photo.
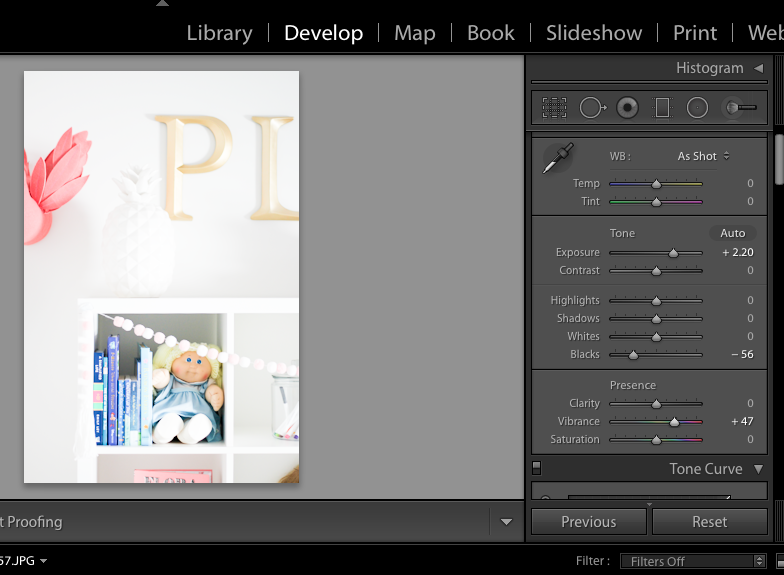
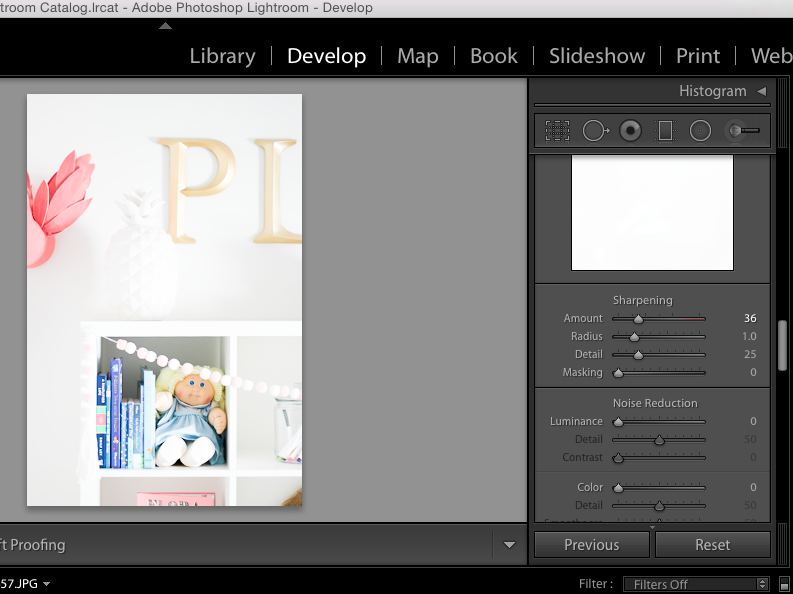
4. Sharpening
The very last thing I do before saving is sharpen. If you scroll all the way down to the DETAIL category, you can adjust the amount. I don’t touch radius or detail, only amount. This photo is a 36 – I typically start at 50 and work my way down if necessary. This tool makes your photos CRISP but you have to be careful not to overdo it or your photo will end up looking a little too HD… ya feel me?!
I hope this helps! I’m working on another post with my favorite (budget friendly!) camera equipment! 🙂
love y’all, mckenzie
