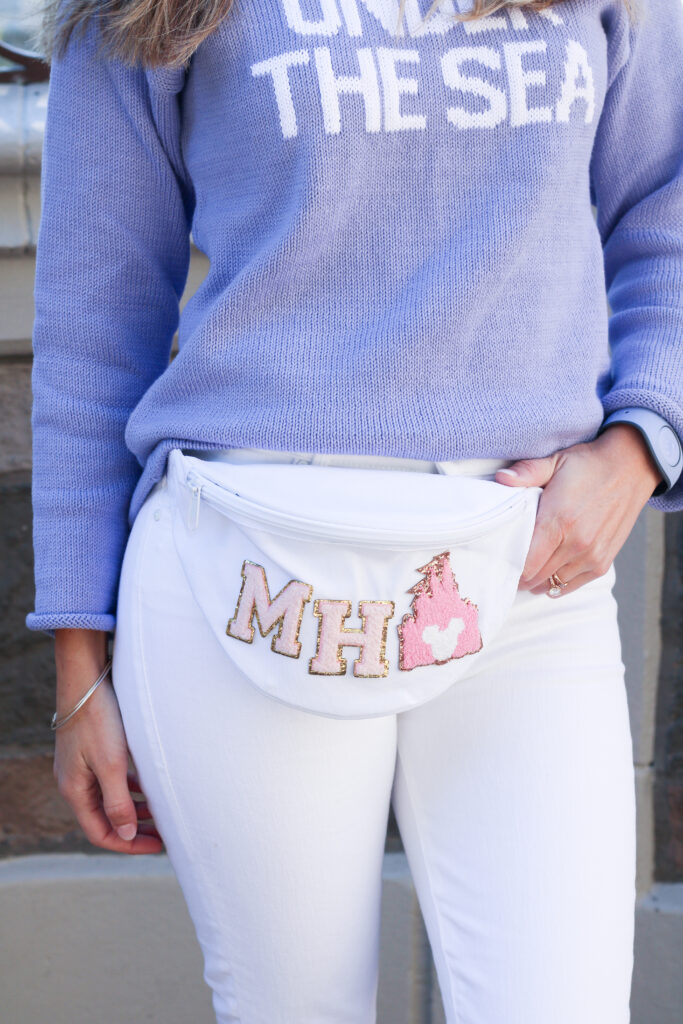
So many of y’all wanted details on the fanny packs I made for our girl’s trip welcome basket last weekend. They were so much fun to “design” and put together and so dang helpful to wear around the Disney parks all weekend! Free hands? Sign me up! I made one for each of the gals on the trip (and one for myself of course!) but think they’d be even more fun to make with your little girl before your next trip to see Mickey! AG has already tried to steal mine – glad I bought a few extra patches!
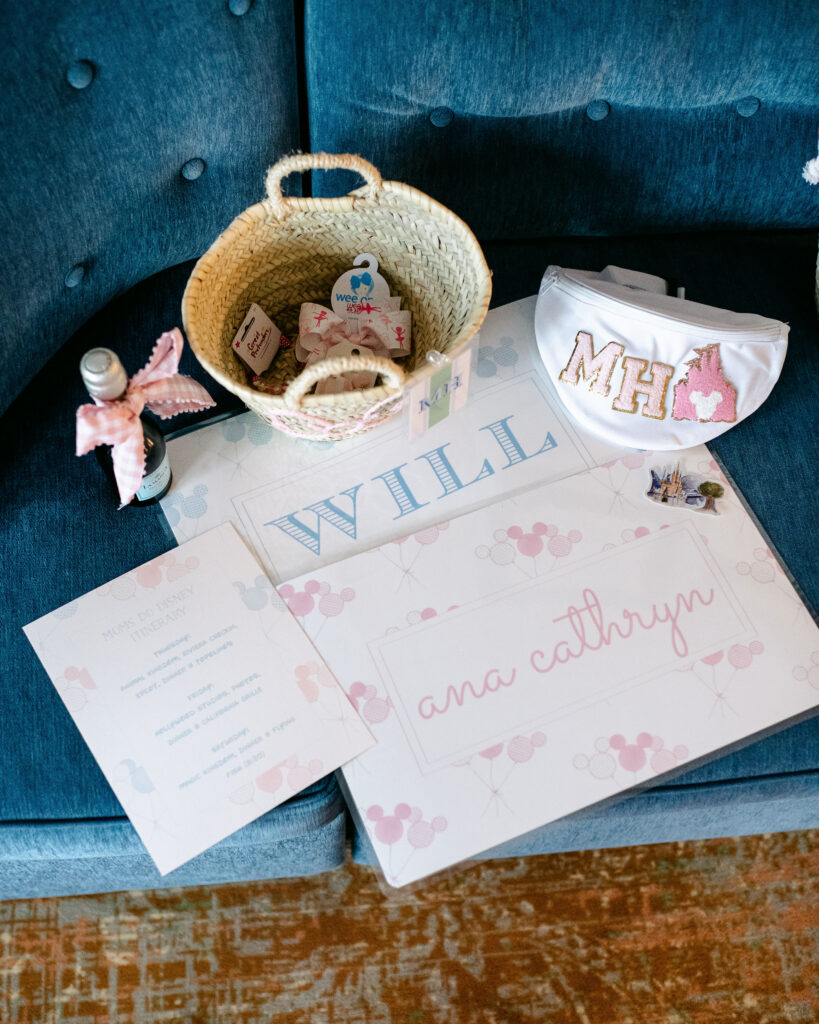
MATERIALS
First things first, you need to order fanny packs! I went with these because the price was right, the reviews looked promising and I liked that they were white! I will say the belt was smaller than we expected – so definitely keep that in mind and sizing reviews for fit details. Ours were canvas but I think these patches work well with Nylon or clear bags as well!
Now for the fun part! You’ll need to order patches. I ordered a few different patch styles from this Etsy shop. The letters are adhesive (stickers) but the castles, rainbows, and mouse styles are iron-on patches. You can fit 1-3 on each fanny pack.
You’ll also need parchment paper and an iron!
[show_shopthepost_widget id=”4694599″]
HOW TO:
- Choose your patches and lay out your placement!
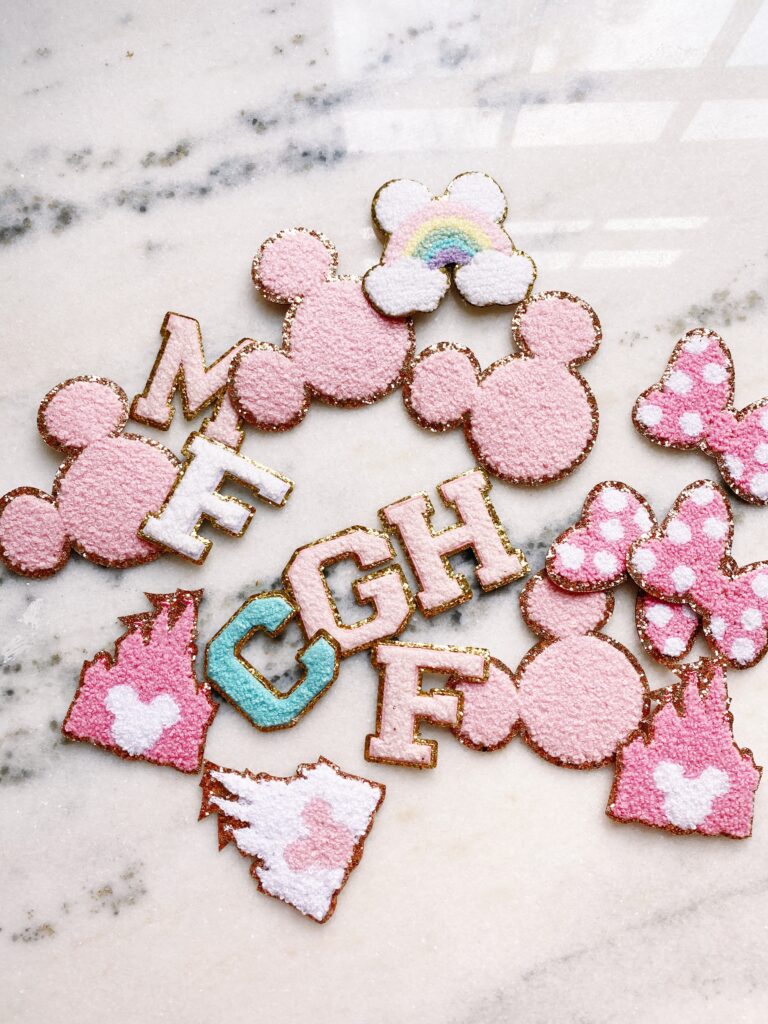
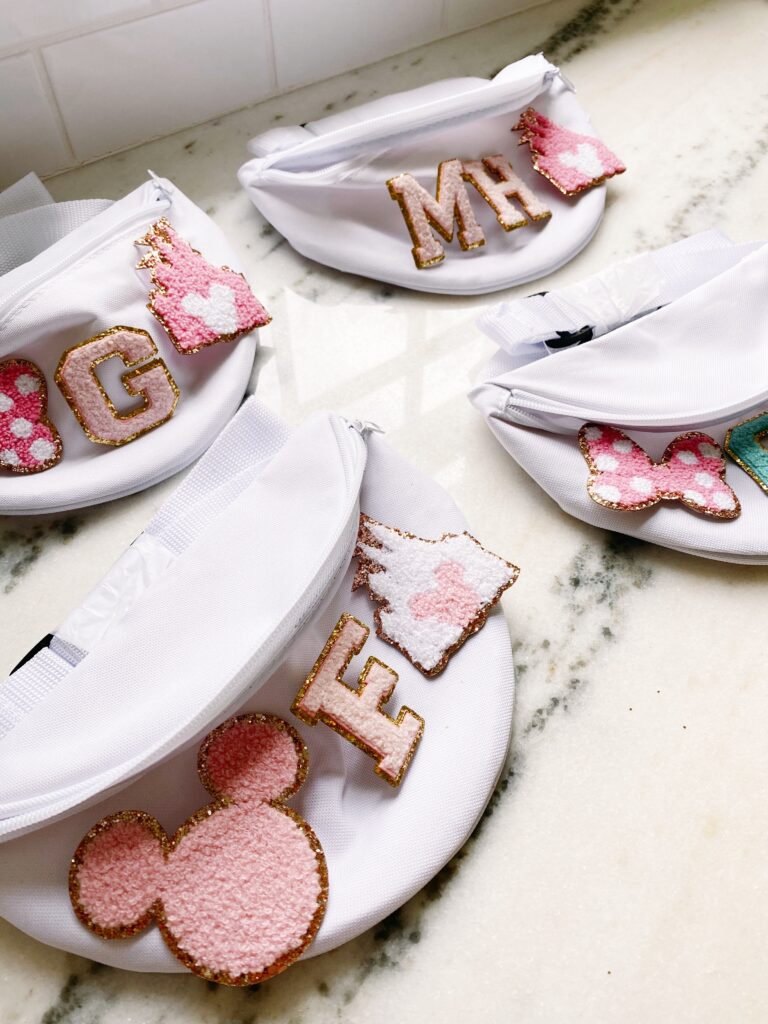
2. Place parchment paper between the iron and your patches. Iron on the highest heat setting for 3-5 minutes or until your patches have completely adhered to the fabric.
3. Give your patches a few minutes to cool before handling!
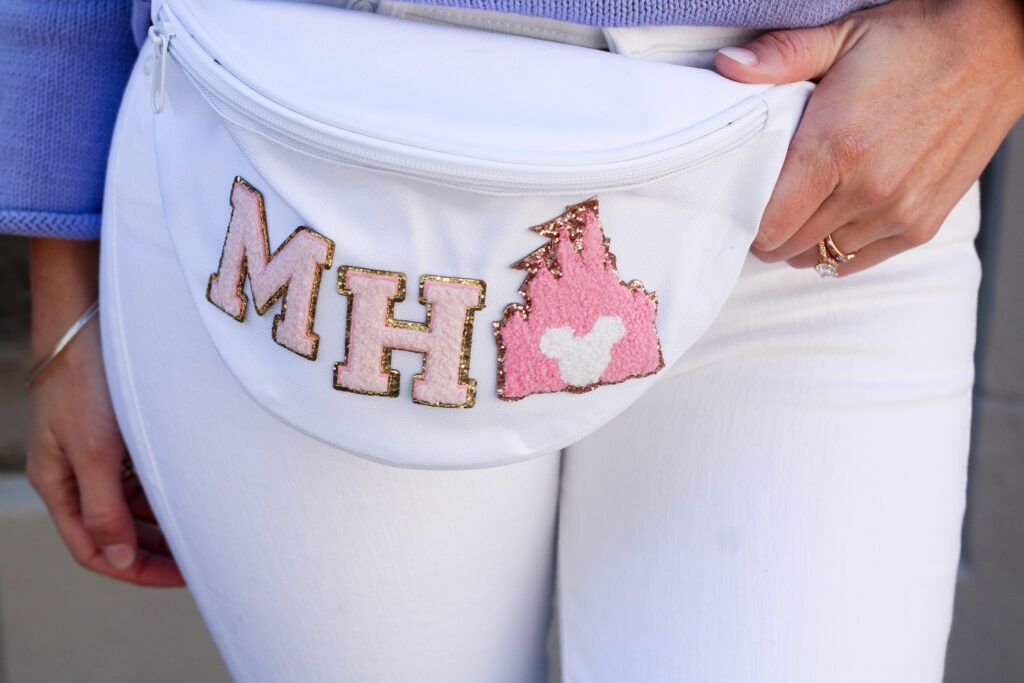
Already scheming other patch projects for our next Disney trip!

